How to render sketchup model in 3ds max
In modern fields like architectural design, interior design, and landscape design, SketchUp and 3ds Max are often used together. SketchUp is an intuitive, easy-to-learn modeling tool that excels in modeling efficiency, but its rendering capabilities are relatively limited, particularly when it comes to handling complex materials, lighting, and details. On the other hand, 3ds Max is an industry-leading software for 3D modeling, animation, and rendering, known for its powerful rendering engine and material processing abilities. Importing SketchUp models into 3ds Max and utilizing its advanced rendering features can significantly enhance the design output, especially when high-quality visual effects are required.
For designers, knowing how to render SketchUp models in 3ds Max is an essential skill. This article will explore in-depth how to efficiently and effectively import SketchUp models into 3ds Max, optimize the models, set up materials and lighting, and finally produce high-quality renders.
Why Import SketchUp Models into 3ds Max for Rendering

While SketchUp is highly efficient for modeling, its rendering capabilities are fairly basic. The built-in rendering features in SketchUp are suitable for simple visualization needs. However, when designers want to achieve more refined renders—especially those involving complex materials, detailed lighting effects, and high-end rendering features—3ds Max’s powerful rendering engine and material editing capabilities become crucial.
3ds Max supports various high-quality rendering engines like V-Ray, Arnold, and Corona. These engines are capable of simulating more realistic lighting and shadow effects, rendering more complex materials, and displaying finer details. For architectural and interior design projects that require intricate scene details, 3ds Max is an indispensable tool.
Importing SketchUp Models into 3ds Max
The process of importing SketchUp models into 3ds Max is straightforward but needs to follow certain steps to ensure maximum retention of the model's structure and material information. The general steps are as follows:
Export the Model: First, complete your design in SketchUp and ensure the model is finalized, without unnecessary geometry or unfinished parts. Then, choose an appropriate export format. Commonly used file formats are .3ds and .dae (Collada). Both formats can be successfully imported into 3ds Max, but the .dae format typically preserves the materials and hierarchy of the SketchUp model better. To export, use SketchUp’s “File” > “Export” option and select the desired format.
Import into 3ds Max: In 3ds Max, choose “File” > “Import” and then select the file you exported from SketchUp. This will load the SketchUp model into the current scene. During the import process, there may be issues with missing or incorrect materials due to the different ways SketchUp and 3ds Max handle materials. You can manually adjust the materials and textures as needed.

Adjust Units and Scale: The unit settings in SketchUp and 3ds Max may differ. This can cause issues with scale, especially when importing large models. In 3ds Max, ensure that the unit settings are adjusted to match those in SketchUp to avoid models appearing too large or too small.
Optimizing Imported SketchUp Models
Although SketchUp’s modeling is quite intuitive, it simplifies many details, meaning that imported models may require optimization in 3ds Max. First, check for unnecessary details or redundant parts. 3ds Max’s “Optimize” tool can help reduce polygon count and eliminate extraneous geometry to improve rendering performance.
Clear Redundant Geometry: Many SketchUp models contain excessive faces or hidden elements that can slow down rendering and negatively affect performance. Use 3ds Max’s "Optimize" feature to delete unnecessary parts and simplify the model. This not only speeds up the rendering process but also reduces the computational load during rendering.
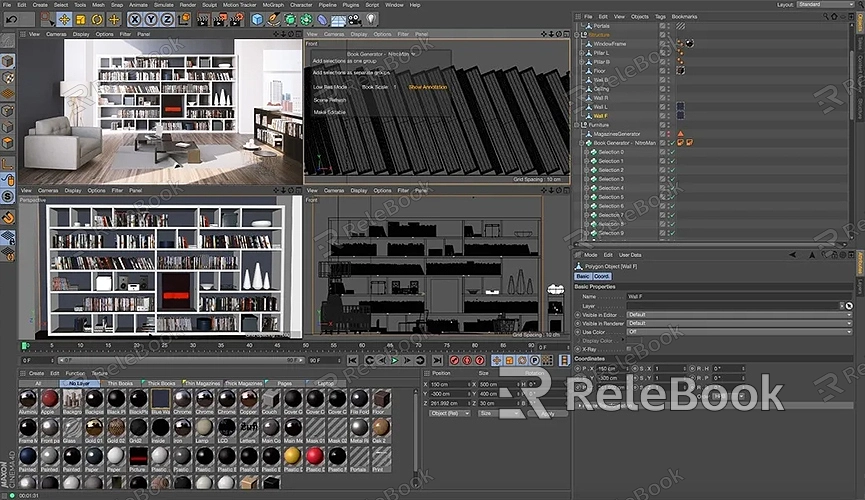
Check Textures and Materials: While SketchUp’s material system is simple, it doesn’t support complex texture mapping and material effects. After importing the model into 3ds Max, you will need to reassign and adjust materials, particularly for achieving detailed lighting, reflection, and refraction effects. 3ds Max comes with a powerful material editor that supports a wide variety of material types and texture mapping methods, allowing designers to add rich details to their models.
Material and Texture Setup
To enhance the realism of the model, materials and textures are essential elements in rendering. 3ds Max offers a wide range of material types that can simulate various properties like glossiness, transparency, roughness, and reflection. Here are some common material types:
V-Ray Materials: V-Ray is one of the most commonly used rendering engines, offering efficient material types that simulate realistic lighting and reflection effects. With the V-Ray material editor, you can adjust properties like reflection, transparency, and refraction to ensure materials look as realistic as possible.
Arnold Materials: Arnold is another popular rendering engine for 3ds Max, known for its excellent render quality and lighting simulation abilities. It is especially suited for handling complex lighting effects and large-scale scenes. Arnold simplifies material handling, making it ideal for high-quality rendering projects.
Corona Materials: Corona is a newer rendering engine that’s renowned for its ease of use and efficient rendering speed. For designers who need to quickly render high-quality results, Corona is an excellent choice.
When choosing textures, using high-quality 3D texture resources can significantly improve the final render. If you need access to a wide range of high-quality 3D textures and HDRIs, you can download them for free from Relebook's texture library. These textures help you refine material rendering, such as wood, metal, and stone, enhancing the overall effect. If you also need high-quality 3D models, you can download them from Relebook’s 3D models page.
Lighting and Shadow Setup
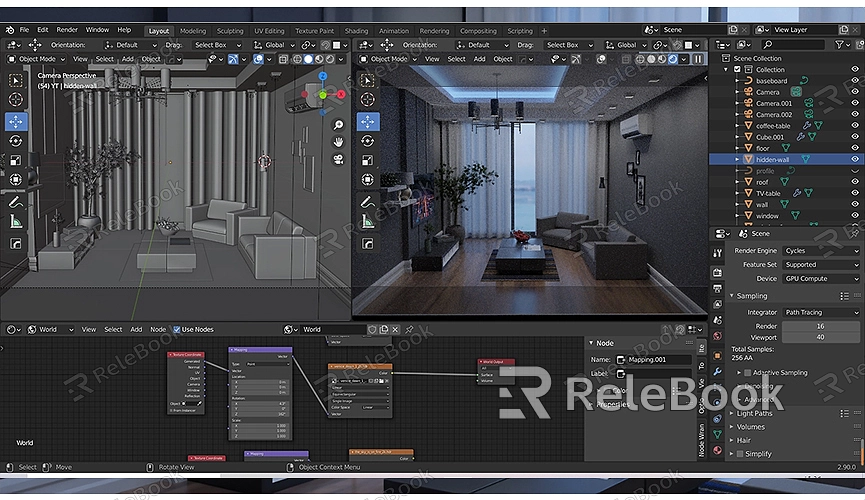
Lighting settings in 3ds Max are crucial to the final render’s realism. Different light types and parameters directly affect the realism of the final image. 3ds Max supports various types of light sources, including point lights, spotlights, ambient lights, and sunlight. Each light type is suited for different scenes.
When setting up lights, consider the overall ambiance of the scene, the intensity, direction, and color temperature of the light. For example, in an indoor scene, you may use softer light, whereas for outdoor scenes, sunlight’s intensity and direction need to be carefully controlled. To add depth to the lighting, adjust the shadow properties to enhance the scene's dimensionality.
Rendering Settings and Optimization
Rendering is a computationally intensive process, especially when dealing with complex models or finely tuned lighting setups. Adjusting rendering settings is crucial to speed up rendering time while maintaining high quality. In 3ds Max, rendering settings include image resolution, lighting quality, and anti-aliasing settings, which can be adjusted based on project needs.
When using efficient rendering engines like V-Ray or Arnold, you can balance render quality and speed by adjusting the rendering parameters. For example, you can choose appropriate lighting methods like global illumination and physical rendering and optimize the model and materials to reduce rendering time without compromising quality.
Post-Processing After Rendering
Once the rendering is complete, the resulting image can be further refined using image editing software like Photoshop. Post-processing enhances the image’s color, contrast, brightness, and overall appearance to better meet visual requirements. During the 3ds Max rendering process, multiple render passes (such as reflection, shadow, and ambient occlusion layers) are often generated. These can be adjusted in post-processing to create the desired final result.
By importing SketchUp models into 3ds Max for rendering, you can fully leverage 3ds Max’s powerful rendering, lighting, and material capabilities to generate high-quality, polished renders. Whether it's for architectural visualization, interior design, or product displays, 3ds Max offers a wealth of tools and options to optimize and enhance your design. For additional high-quality 3D textures, HDRIs, and model assets, visit Relebook’s texture library to download resources, or Relebook’s 3D models page for stunning 3D models that will elevate your design work.

